

Key Takeaways
- Total installation cost ranges from $0 (portable lifts like QuickJack) to $2,500+ (2-post lift in a garage that needs electrical and concrete work).
- The lift itself is only part of the cost. Shipping ($300–$1,000), electrical work ($300–$800), concrete repair ($200–$500), and professional installation labor ($400–$1,200) can add 30–60% to the sticker price.
- Concrete requirements: Minimum 4″ thick at 3,000 PSI for lifts under 10,000 lbs. 6″ for 12,000+ lbs. No cracks, no expansion joints under the columns.
- Electrical requirements: Most 2-post and 4-post lifts need 220V/30A dedicated circuits. QuickJack, BendPak MD-6XP, and Triumph NT-9 run on 110V. See the 110V vs 220V guide for details.
- Ceiling height determines which lifts you can install. 9′ = portable/scissor only. 11’+ = most 2-post and 4-post lifts. Check specific models in the fitment checker.
- DIY installation is realistic for 4-post lifts and portable lifts. 2-post lifts are significantly harder and most manufacturers recommend professional installation.
Installing a car lift isn’t just about bolting columns to the floor. It’s a multi-step project that touches your garage’s concrete, electrical system, ceiling clearance, and layout — and getting any of those wrong means you either can’t install the lift or can’t use it safely.
This guide covers every requirement, realistic cost ranges, the DIY vs. professional decision, and a step-by-step walkthrough for the most common lift types. Or if you want to skip the research: find a certified installer near you through the installer directory and get a quote for your specific lift and garage.
What Installation Actually Involves
Every lift installation — regardless of type — follows the same fundamental sequence:
- Verify the garage — ceiling height, floor space, concrete thickness and condition, electrical availability
- Receive and unpack the lift — inspect for shipping damage, inventory all parts
- Prepare the site — mark column positions, drill anchor holes, run electrical if needed
- Assemble the lift — build columns, attach arms, connect hydraulics, wire power unit
- Anchor to the floor — set concrete anchors and torque to spec
- Test and calibrate — cycle the lift empty, verify lock engagement, check for leaks, test with a vehicle
The complexity and cost of each step varies dramatically by lift type.
Installation Cost Breakdown by Lift Type
Portable Lifts (QuickJack, MaxJax)
| Cost Item | QuickJack | MaxJax M7K |
|---|---|---|
| Lift price | $1,500–$2,150 | ~$5,200 |
| Shipping | $0–$100 (often free) | $300–$500 |
| Electrical work | $0 (110V) | $300–$800 (220V) |
| Concrete work | $0 (sits on floor) | $200–$400 (anchoring) |
| Professional install | $0 (DIY) | $0–$400 |
| Total installed | $1,500–$2,250 | $5,800–$7,300 |
QuickJack is the simplest installation in the lift market. Unbox, connect the hydraulic lines to the power unit, plug into a wall outlet, and start lifting. No anchors, no concrete drilling, no electrician.
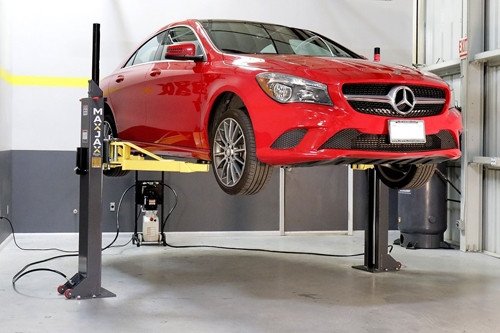
MaxJax requires floor anchoring (four anchor points per column) and a 220V circuit, but the columns are designed for homeowner installation with basic tools.
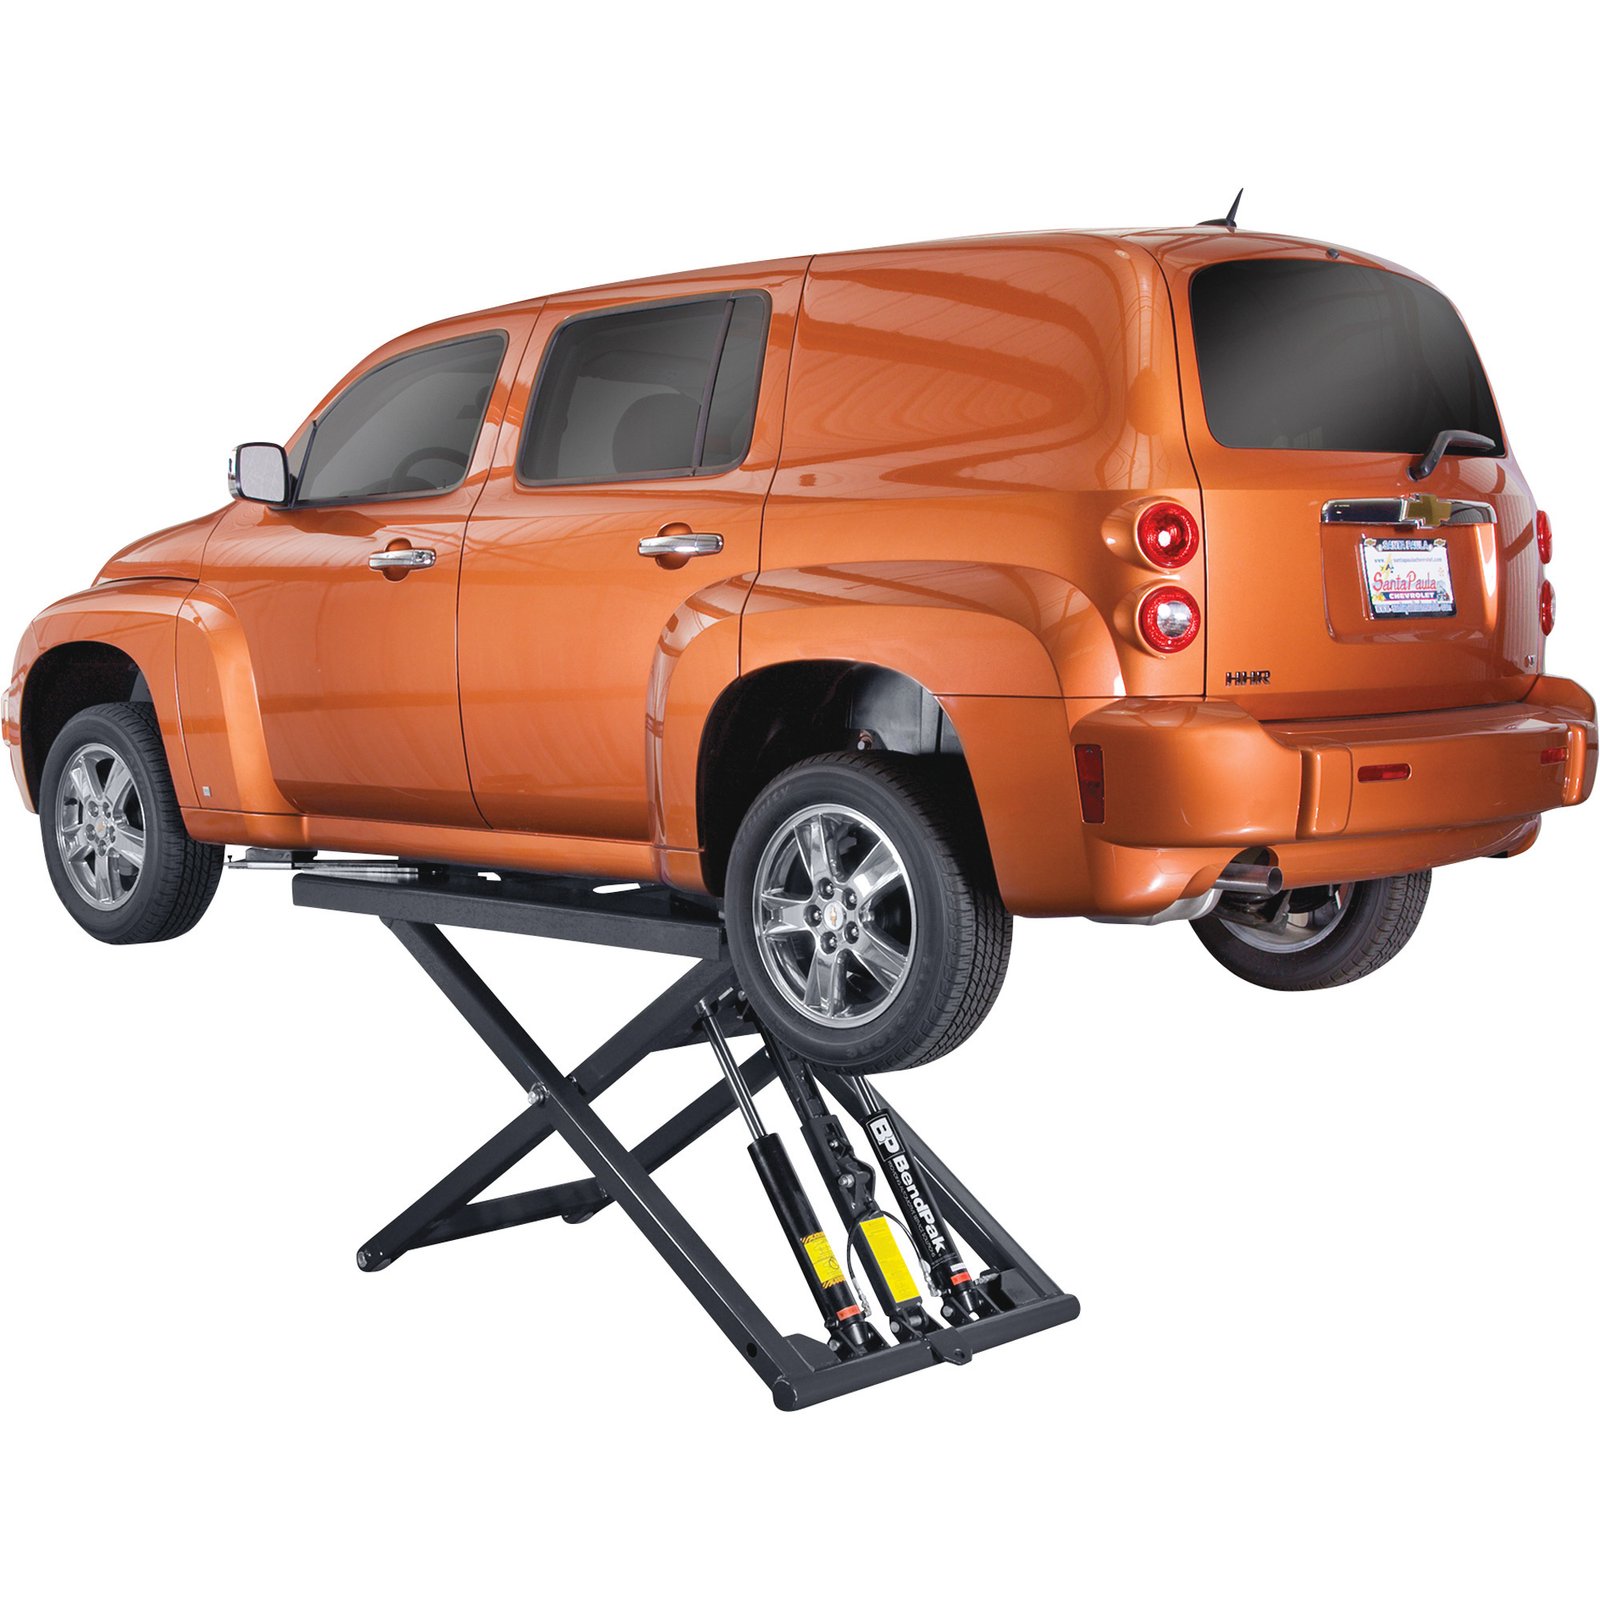
Mid-Rise Scissor Lifts (BendPak MD-6XP)
| Cost Item | Range |
|---|---|
| Lift price | ~$3,600 |
| Shipping | $200–$500 |
| Electrical work | $0 (110V) |
| Concrete work | $0 (sits on floor) |
| Professional install | $0 (DIY) |
| Total installed | $3,800–$4,100 |
The MD-6XP is portable — no anchoring required. It sits on the floor under its own weight and operates on 110V with a cart-mounted power unit. Roll it into position, connect the hydraulic lines, and plug in.
2-Post Lifts
| Cost Item | Budget (Triumph NT-9) | Mid-Range (Atlas PV-10PX) | Premium (BendPak XPR-10AS) |
|---|---|---|---|
| Lift price | ~$3,200–$3,600 | ~$4,500–$4,700 | ~$5,800–$6,100 |
| Shipping | $400–$800 | $400–$800 | $400–$800 |
| Electrical work | $0 (110V) | $300–$800 (220V) | $300–$800 (220V) |
| Concrete work | $0–$300 | $0–$300 | $0–$300 |
| Professional install | $400–$800 | $400–$800 | $400–$1,200 |
| Total installed | $4,000–$5,500 | $5,600–$7,400 | $6,900–$9,200 |
2-post lifts are the most installation-intensive home garage lifts. Each column weighs 300–500 lbs, requires precise positioning (column spacing must be exact), and anchors into the concrete with heavy-duty bolts. Most homeowners hire a professional installer.
The Triumph NT-9 is the exception in electrical cost — it runs on 110V, eliminating the electrician visit entirely.
4-Post Lifts
| Cost Item | Budget (Triumph NSS-8) | Mid-Range (Atlas 412) | Premium (BendPak HD-9) |
|---|---|---|---|
| Lift price | ~$3,200–$4,000 | ~$7,000–$7,600 | ~$6,100 |
| Shipping | $500–$1,000 | $500–$1,000 | $500–$1,000 |
| Electrical work | $0 (110V) | $300–$800 (220V) | $300–$800 (220V) |
| Concrete work | $0–$200 | $0–$300 | $0–$300 |
| Professional install | $0–$600 | $400–$800 | $400–$800 |
| Total installed | $3,700–$5,800 | $8,200–$10,500 | $7,300–$9,000 |
4-post lifts are easier to install than 2-post lifts. The four columns are connected by runways, creating a self-supporting structure. Many 4-post lifts (Triumph NSS-8, Wildfire, Atlas 409HP/Garage Pro 9000) can operate free-standing — no bolting required — though bolting is always recommended for permanent installations. See our 4-post bolting guide for details.
Requirement #1: Concrete
Your garage floor is the foundation for everything. A lift that isn’t properly anchored to adequate concrete is unsafe at any capacity.
Thickness
| Lift Capacity | Minimum Thickness | Recommended |
|---|---|---|
| Under 10,000 lbs | 4 inches | 4–6 inches |
| 10,000–12,000 lbs | 4–6 inches | 6 inches |
| Over 12,000 lbs | 6 inches | 6+ inches |
How to check: Drill a small test hole at the edge of your garage slab or near the garage door threshold. Measure the depth with a tape measure or wire. Most residential garage slabs are 4 inches — sufficient for lifts up to 10,000 lbs.
Strength
The concrete must be at least 3,000 PSI compressive strength. Standard residential concrete is typically 3,000–4,000 PSI, so most garage slabs meet this requirement unless the concrete is very old (pre-1970s), damaged, or was mixed improperly.
Condition
The concrete under and around each anchor point must be:
- Free of cracks — a crack under a column base can propagate under load
- Not on an expansion joint — joints are designed to move; anchors in joints will loosen
- Not near the slab edge — anchor points should be at least 6 inches from any slab edge or control joint
- Clean and dry — oil saturation can weaken concrete’s bonding with anchor bolts
What If Your Concrete Isn’t Adequate?
| Problem | Solution | Cost |
|---|---|---|
| Too thin (less than 4″) | Pour reinforced concrete pads under each column | $500–$2,000 |
| Cracked under column position | Shift the lift or have the section repaired/replaced | $200–$800 |
| Expansion joint under column | Reposition the lift to avoid the joint | $0 |
| Unknown thickness | Core sample or edge drilling to verify | $0–$100 (DIY) |
For a complete concrete assessment methodology, see the garage preparation section of our home garage lift guide.
Requirement #2: Electrical
The second most common installation surprise (after concrete) is discovering you need 220V power and don’t have it.
Quick Reference
| Lift | Voltage | Circuit | Electrician Needed? |
|---|---|---|---|
| All QuickJack models | 110V | 15A standard outlet | No |
| BendPak MD-6XP | 110V | 15A standard outlet | No |
| Triumph NT-9 | 110V | 20A dedicated | No (existing outlet) |
| Most 2-post lifts | 220V | 30A dedicated | Yes |
| All 4-post lifts | 220V | 20–30A dedicated | Yes |
| MaxJax M7K | 220V | 20A dedicated | Yes |
Adding a 220V circuit costs $300–$800 from a licensed electrician. Variables include distance from panel to lift location, wire gauge required, and local labor rates. For detailed electrical planning, see the 110V vs 220V guide and the garage electrical planning guide.
Requirement #3: Ceiling Height
Ceiling clearance determines which lift types you can install — and whether you can actually get a vehicle to useful working height once installed.
Minimum Ceiling by Lift Type
| Ceiling Height | Compatible Lifts |
|---|---|
| 8–9 feet | QuickJack, BendPak MD-6XP, Autostacker |
| 9–9’6″ | Above + Triumph NT-9, BendPak GP-7LCS |
| 10–11 feet | Above + select low-profile 2-post lifts |
| 11–12 feet | Most 2-post lifts, most 4-post lifts |
| 12+ feet | All lift types at full capability |
The critical calculation: Lift overall height + vehicle height + working clearance at top. A 2-post lift with 145″ (12’1″) overall height needs at least a 12’6″ ceiling to avoid the overhead safety bar hitting the ceiling before full rise. A vehicle on that lift adds another consideration — the top of the vehicle must not contact the ceiling, lights, garage door tracks, or sprinkler heads.
Use the fitment checker to cross-reference your exact ceiling height against specific lift models.
Requirement #4: Floor Space
Minimum Dimensions by Lift Type
| Lift Type | Width | Depth | Notes |
|---|---|---|---|
| QuickJack | 8 feet | 16 feet | Compact; stores against wall when not in use |
| Mid-rise scissor | 10 feet | 20 feet | Portable; rolls into position |
| 2-post lift | 12–13 feet | 24 feet | Permanent; include walk-around clearance |
| 4-post lift | 12 feet | 22+ feet | Include ramp approach length |
These are minimum working dimensions. Add 2–3 feet on each side for comfortable walk-around access. If the lift is in a 2-car garage, one bay will typically be dedicated to the lift and the adjacent bay used for parking or workspace.
DIY vs. Professional Installation
What You Can Realistically DIY
| Lift Type | DIY Feasible? | Why |
|---|---|---|
| QuickJack | Yes — designed for it | Unbox, connect hoses, plug in. 30 minutes. |
| BendPak MD-6XP | Yes — designed for it | Assemble scissor frames, connect hydraulics, plug in. 1–2 hours. |
| MaxJax M7K | Yes — with help | Anchor columns to floor, connect hydraulics, wire power unit. 4–6 hours with 2 people. |
| 4-post lift | Yes — with help and planning | Assemble columns and runways, install cables, mount power unit. 6–10 hours with 2–3 people. |
| 2-post lift | Possible but not recommended | Columns weigh 300–500 lbs each, require precise positioning, and must be perfectly plumb. Most manufacturers recommend professional installation. 8–16 hours with 2–3 people. |
When to Hire a Professional
Hire a professional installer if:
- You’re installing a 2-post lift. The column positioning tolerances are tight (typically ±1/8″), the columns are extremely heavy, and improper installation can cause uneven lifting or structural failure. This is where professionals earn their fee.
- You’re not comfortable with concrete anchor work. Drilling anchor holes, setting concrete anchors, and torquing to spec requires a rotary hammer drill (SDS+), the correct anchor type and length, and the knowledge to avoid rebar, conduit, and post-tension cables.
- You need electrical work. Unless you’re a licensed electrician, hire one for 220V circuit installation. This isn’t optional — improper electrical work is a fire hazard and code violation.
- Your garage has complications. Sloped floors, thin concrete, low ceilings, or tight spaces all increase installation difficulty. Professionals have seen these issues and know the workarounds.
Finding an Installer
Use the installer directory to find certified lift installers in your area. Many lift dealers offer installation services or can recommend local installers. Typical professional installation costs:
| Service | Cost Range |
|---|---|
| 2-post lift installation (labor only) | $400–$1,200 |
| 4-post lift installation (labor only) | $300–$800 |
| MaxJax/column lift installation | $200–$500 |
| Concrete anchor drilling and setting | $100–$300 (if separate from lift install) |
| 220V electrical circuit | $300–$800 |
Step-by-Step: 2-Post Lift Installation
This is the most common professional installation. Here’s what the process looks like, whether you’re doing it yourself or watching an installer work.
Tools Required
- Rotary hammer drill (SDS+) with correct bit size for your anchors
- Torque wrench (ft-lbs range matching your anchor spec — typically 90–120 ft-lbs)
- Level (48″ minimum — longer is better)
- Tape measure (25 ft minimum)
- Socket set (standard and metric)
- Hydraulic fluid (AW-32 or AW-46, 2–4 gallons — check your manual)
- Chalk line or laser level for column alignment
- Floor jack or engine hoist (for positioning columns)
Process
1. Mark column positions. Using the manufacturer’s template (included with every lift), mark the exact center point of each column’s base plate on the concrete. The distance between column centers must match the manufacturer’s specification exactly. Use a chalk line to verify alignment — both columns must be on the same line, parallel to the garage walls.
2. Position the first column. With 2–3 people (or a floor jack and straps), stand the first column upright and position it on the marked location. Use a 48″ level on two adjacent faces to verify plumb (vertical). Shim the base plate if needed — some manufacturers include shim plates for minor floor slope.
3. Drill anchor holes. With the column positioned and plumb, drill through the base plate holes into the concrete. Drill to the depth specified by the anchor manufacturer (typically 4–5″ for 3/4″ anchors). Clean each hole thoroughly — blow out concrete dust with compressed air. Dust left in the hole reduces anchor holding strength.
4. Set anchors. Insert concrete anchors (typically 3/4″ x 5-1/2″ wedge anchors or sleeve anchors) through the base plate and into the drilled holes. Hand-tighten nuts, then torque to spec with a torque wrench. The manufacturer’s manual specifies the exact torque value — typically 90–120 ft-lbs for 3/4″ anchors.
5. Repeat for the second column. Position, plumb, drill, and anchor. Verify the column-to-column distance matches spec at both the top and bottom.
6. Install the overhead beam (if applicable — not all 2-post lifts have one). Lift the crossbeam into position and bolt to the column tops. This beam provides lateral stability and houses the overhead safety shutoff bar.
7. Install the arms. Slide each arm assembly into the column carriage. Secure with the arm retention pins. Verify each arm swings freely through its full range and that the telescoping extension moves smoothly.
8. Connect hydraulics. Route hydraulic hoses from the power unit to each cylinder per the wiring/plumbing diagram. Tighten all fittings. Fill the reservoir with the manufacturer-specified hydraulic fluid (typically AW-32 or AW-46).
9. Connect power. Plug the power unit into the designated electrical outlet (110V for Triumph NT-9; 220V for most others).
10. Test — empty. Cycle the lift up and down several times with no vehicle. Check for hydraulic leaks at every fitting. Verify the safety locks engage at every position during the rise. Listen for unusual noises. Confirm the lift rises evenly (both sides at the same rate).
11. Test — loaded. Position a vehicle on the lift using the correct lift points (see the positioning guide). Raise 6 inches and verify pad placement. Continue to full height. Verify safety locks. Release hydraulic pressure and confirm the locks hold the vehicle.
12. Final torque check. After the first loaded lift cycle, re-check all anchor bolt torque values. The initial loading can settle the anchors slightly. Re-torque to spec.
Step-by-Step: 4-Post Lift Installation
4-post lifts are more forgiving than 2-post lifts because the runway structure provides self-alignment. Here’s the typical process:
1. Assemble the columns. 4-post lift columns typically arrive partially assembled. Attach any column extensions, cable sheaves, and hardware per the manual.
2. Position the columns and runways. Lay out the runways between the columns, connecting them per the manufacturer’s instructions. The runway-to-column connection is typically bolted — the runways lock the column spacing automatically.
3. Install the lifting cables. Route the cables through the sheaves and attach to the cable anchors. The cable routing pattern varies by model — follow the manual diagram exactly. Improper cable routing can cause uneven lifting.
4. Connect hydraulics and fill. Same process as 2-post — route hoses, tighten fittings, fill reservoir.
5. Anchor (if bolting down). Mark and drill anchor holes through the column base plates. Set anchors and torque to spec. Some 4-post lifts (Triumph, Wildfire, Atlas Garage Pro 9000) can operate free-standing without anchoring — see the bolting guide.
6. Install ramps. Attach the approach ramps to the runway ends.
7. Test. Same empty and loaded testing protocol as 2-post lifts.
Total time: 4–8 hours with 2 people for a typical 4-post lift.
Common Installation Mistakes
Anchoring Into Thin Concrete
If the concrete is less than 4 inches thick and you use standard 5-1/2″ anchors, the anchor can punch through the bottom of the slab. Always verify concrete thickness before drilling.
Hitting Rebar or Post-Tension Cables
Some garage slabs contain rebar grids or post-tension cables for reinforcement. Drilling into rebar weakens the slab. Drilling into a post-tension cable is dangerous — the cable is under thousands of pounds of tension. If you encounter unusual resistance while drilling, stop and investigate. A rebar locator (available at tool rental stores) can map embedded steel before you drill.
Ignoring Floor Slope
Garage floors are intentionally sloped toward the door for drainage — typically 1/8″ to 1/4″ per foot. Over the 10–12 foot span of a lift, that’s 1.25″ to 3″ of slope. Shim plates under the base plates compensate for minor slope. For severe slopes (more than 2″), consult a professional.
Under-Sizing the Electrical Circuit
A 20A circuit for a lift that draws 28A running (and 84A surge) will trip the breaker repeatedly and can damage the motor. Match the circuit to the lift’s requirements — not the other way around. See the electrical guide for circuit sizing per model.
Skipping the Test Protocol
Every lift should be cycled empty several times and then tested with a vehicle before regular use. This catches hydraulic leaks, uneven lifting, lock engagement issues, and anchor problems before they become safety hazards.
Shipping and Delivery
Lift shipping is a significant cost that’s easy to overlook:
| Lift Type | Typical Shipping Cost | Delivery Method |
|---|---|---|
| QuickJack | Free–$100 | UPS/FedEx ground |
| Mid-rise scissor | $200–$500 | LTL freight |
| 2-post lift | $400–$800 | LTL freight (liftgate delivery) |
| 4-post lift | $500–$1,000 | LTL freight (liftgate delivery) |
LTL freight means the lift arrives on a semi-truck pallet. You need to be available to receive the delivery and move the crates off the truck. Liftgate delivery (the truck has a hydraulic platform that lowers the pallet to ground level) adds $50–$150 but is essential if you don’t have a forklift.
Inspect before signing. Check the crate for shipping damage before signing the delivery receipt. Note any damage on the receipt. If the crate is significantly damaged, take photos and contact the dealer before accepting delivery.
The Complete Installation Checklist
Before ordering your lift, verify:
- [ ] Ceiling height matches your chosen lift (use the fitment checker)
- [ ] Floor space accommodates the lift plus walk-around clearance
- [ ] Concrete is at least 4″ thick at 3,000 PSI (6″ for 12,000+ lb lifts)
- [ ] No cracks or expansion joints where columns will be positioned
- [ ] Electrical circuit exists (110V) or you’ve budgeted for 220V installation
- [ ] You have a plan for lift delivery (someone available to receive freight)
- [ ] You’ve decided DIY or professional installation and budgeted accordingly
- [ ] You have the required tools (or your installer does)
- [ ] You’ve read the installation manual for your specific lift model
Use the installer directory to connect with certified installers who handle everything from delivery to testing. Many offer package deals that include the lift, shipping, installation, and electrical work at a combined price lower than sourcing each separately.
Find the Right Lift for Your Garage
Use our free tools to check garage fitment, compare verified specs, and find a certified installer near you.
Frequently Asked Questions
How much does it cost to install a car lift?
Professional installation labor runs $400–$1,200 for a 2-post lift and $300–$800 for a 4-post lift. Total installation cost (including shipping, electrical, and any concrete work) ranges from $800 to $2,500+ above the lift price. Portable lifts like QuickJack have zero installation cost — unbox and plug in. See the cost tables above for model-specific breakdowns.
Can I install a car lift myself?
Portable lifts (QuickJack, BendPak MD-6XP) and 4-post lifts are realistic DIY projects with 2–3 people and basic tools. 2-post lifts are possible to DIY but significantly harder — columns are heavy, positioning tolerances are tight, and most manufacturers recommend professional installation. Electrical work for 220V circuits should always be done by a licensed electrician.
How long does car lift installation take?
QuickJack: 30 minutes. Mid-rise scissor: 1–2 hours. MaxJax: 4–6 hours. 4-post lift: 4–8 hours with 2 people. 2-post lift: 6–16 hours depending on experience and complications. Professional installers typically complete a 2-post lift in 3–5 hours.
What kind of concrete do I need for a car lift?
Minimum 4″ thick at 3,000 PSI compressive strength for lifts up to 10,000 lbs. 6″ thick for 12,000+ lb lifts. The concrete must be free of cracks and expansion joints under the column positions. Most residential garage slabs (poured after 1980) meet these requirements. See our home garage guide for a full concrete assessment walkthrough.
Do I need a permit to install a car lift in my garage?
Permit requirements vary by municipality. Most residential areas do not require a permit for installing a car lift in a private garage. However, the 220V electrical circuit may require an electrical permit and inspection in some jurisdictions. Check with your local building department. The lift itself is considered equipment, not a permanent structure, in most codes.
Can I install a car lift in a rented garage?
Portable lifts (QuickJack, BendPak MD-6XP) require no modification to the garage and are ideal for renters. Anchored lifts (2-post, 4-post) require drilling into the concrete and possibly electrical modifications — you’ll need landlord permission. Some lifts (Triumph NSS-8, Wildfire, Atlas Garage Pro 9000) can operate free-standing without anchoring, which reduces the modification footprint.